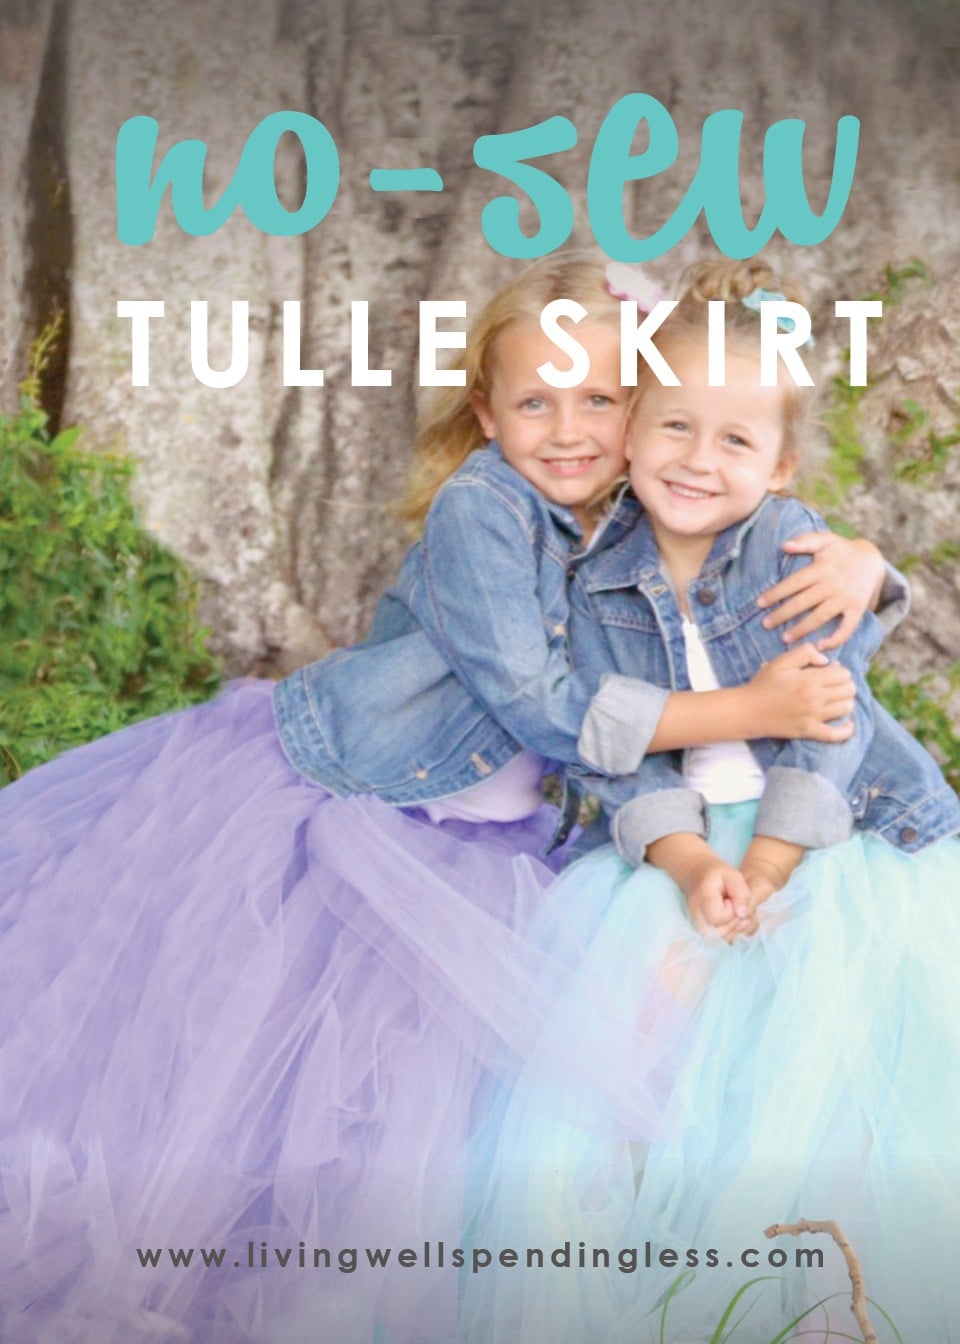
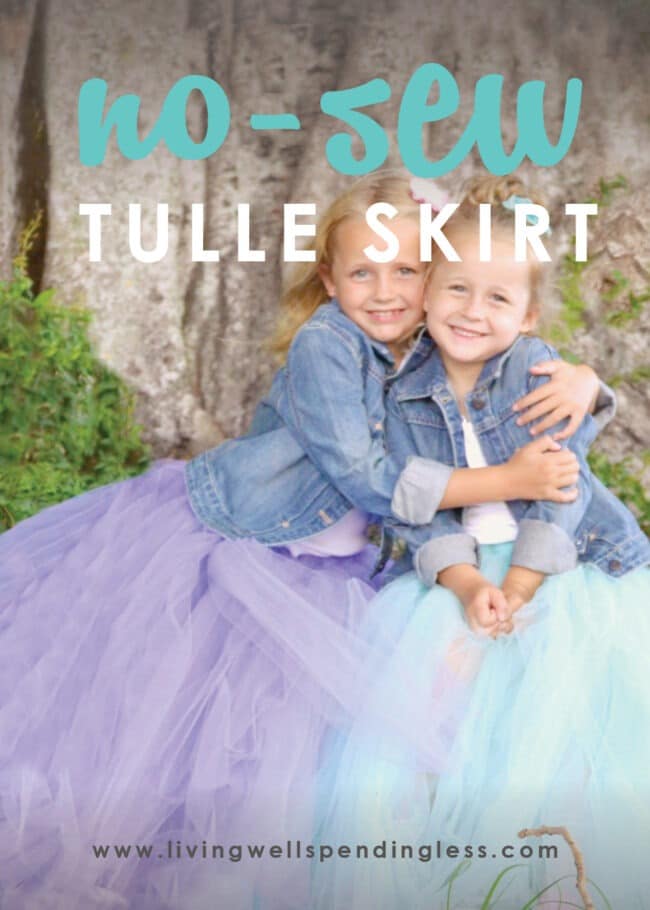
This super full no sew tulle skirt tutorial will guide you through the steps to create beautiful tulle skirts without a sewing machine.
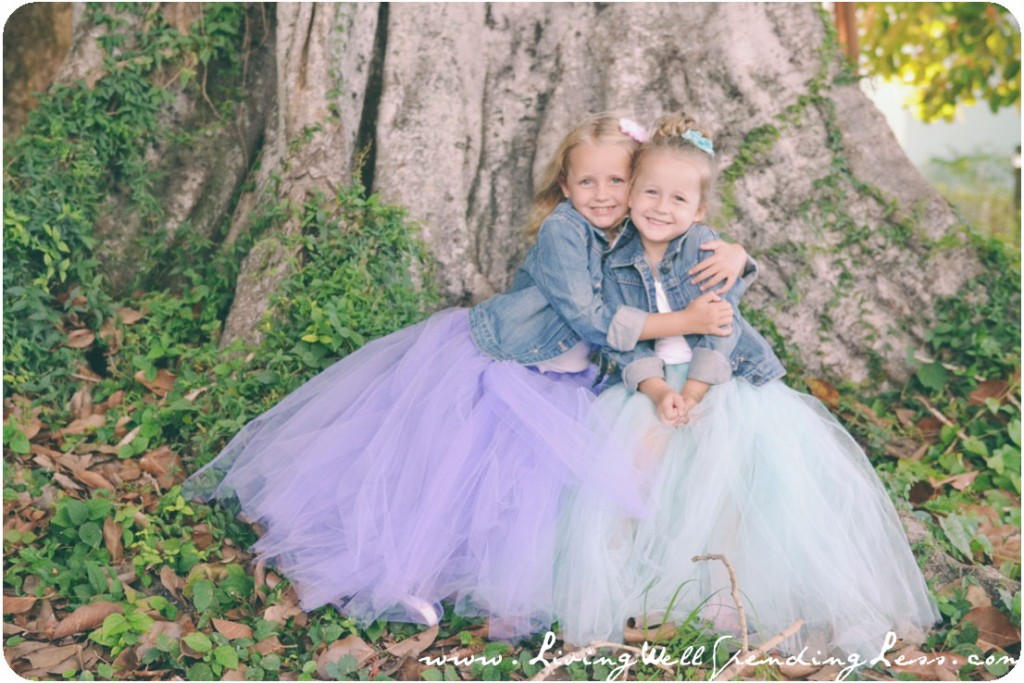
I am certainly not a professional photographer, but I do really enjoy taking photos, especially of my friends and family–I call it “mom-tography.” Last fall some close friends asked me to do a family session for their Christmas card photo. They wanted a look that was fun and playful, with a bright pop of color, so we decided to make a big puffy tulle skirt for their little girl to wear.
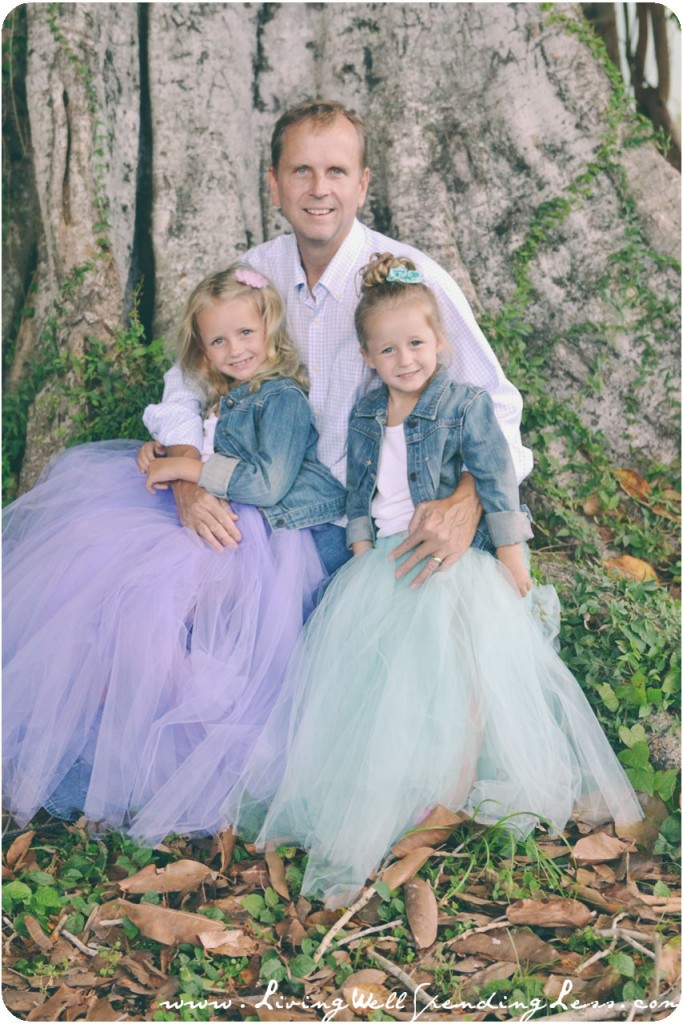
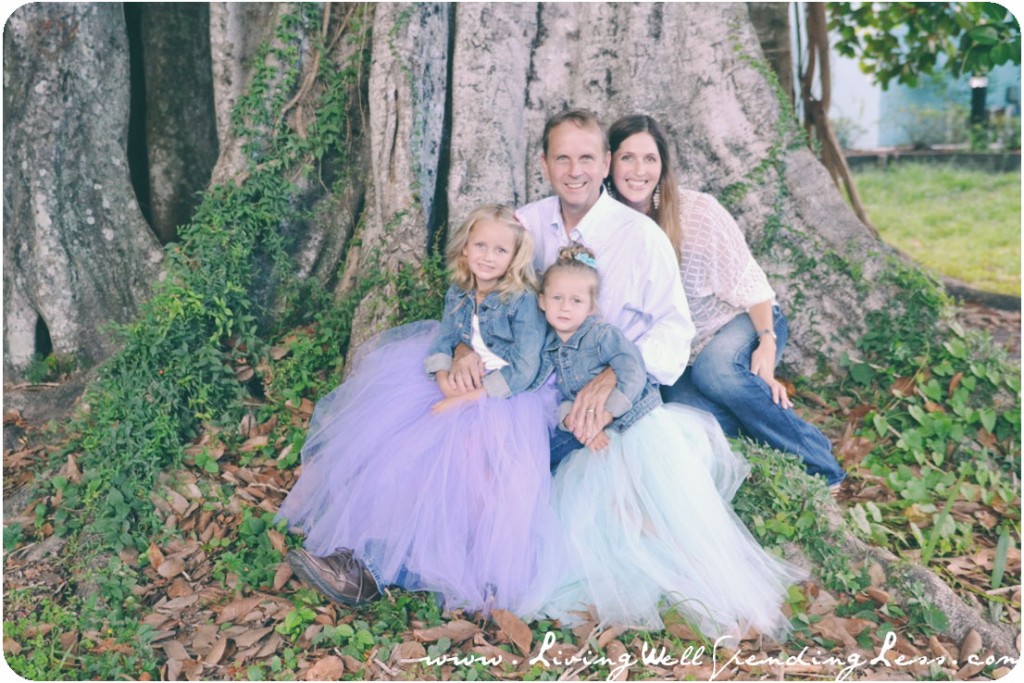
Had I known how easy it would be to whip these little puppies up, I would have tried it a long time ago. Their family photos turned out absolutely darling, and I made a mental note to make some full-skirted tutus for my own girls the next time we got around to doing a photo session of our own.
Fast forward almost ten months and here we are.
Luckily this time around I managed to snap actually takes some photos while I was making the skirts, just so you could see how simple they really are. I whipped them both up in about an hour and the girls were so excited about their fancy princess skirts that they happily agreed to pose for me. (P.S. The little jean jackets were a great sale find at the JCrew outlet!)
No Sew Tulle Skirt
Here is what you need:
tulle fabric (at least 20 yards per skirt) elastic (1/2″-3/4″ size is fine) scissors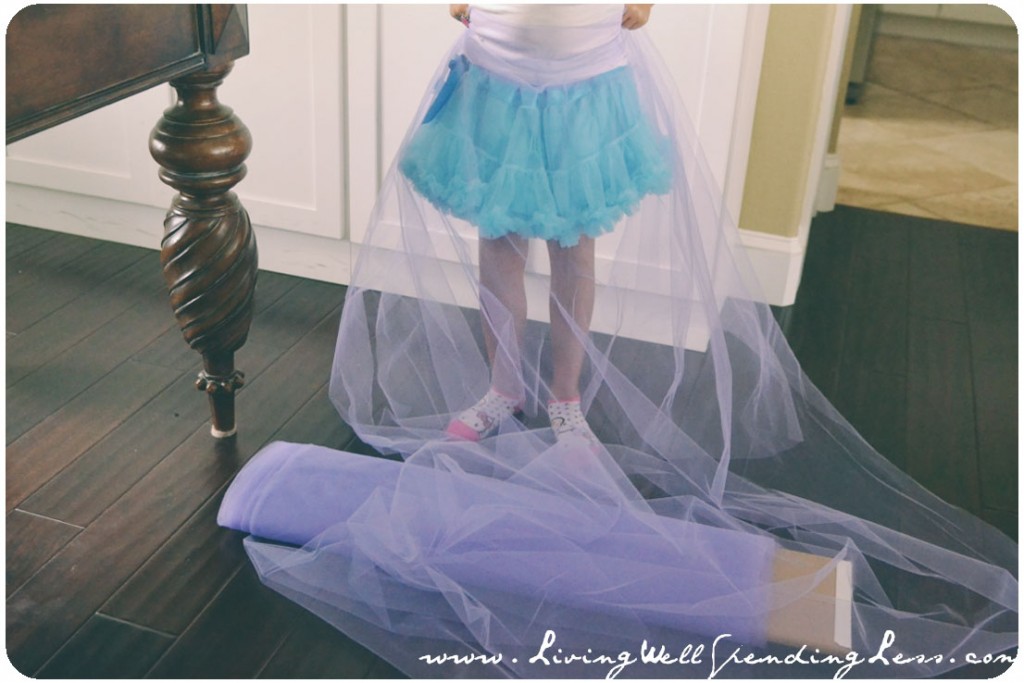
Step 1: Grab a length of tulle and fold it over, then measure it against your model to see how long the pieces will be that you have to cut. This is not an exact science, but better slightly too long than too short!
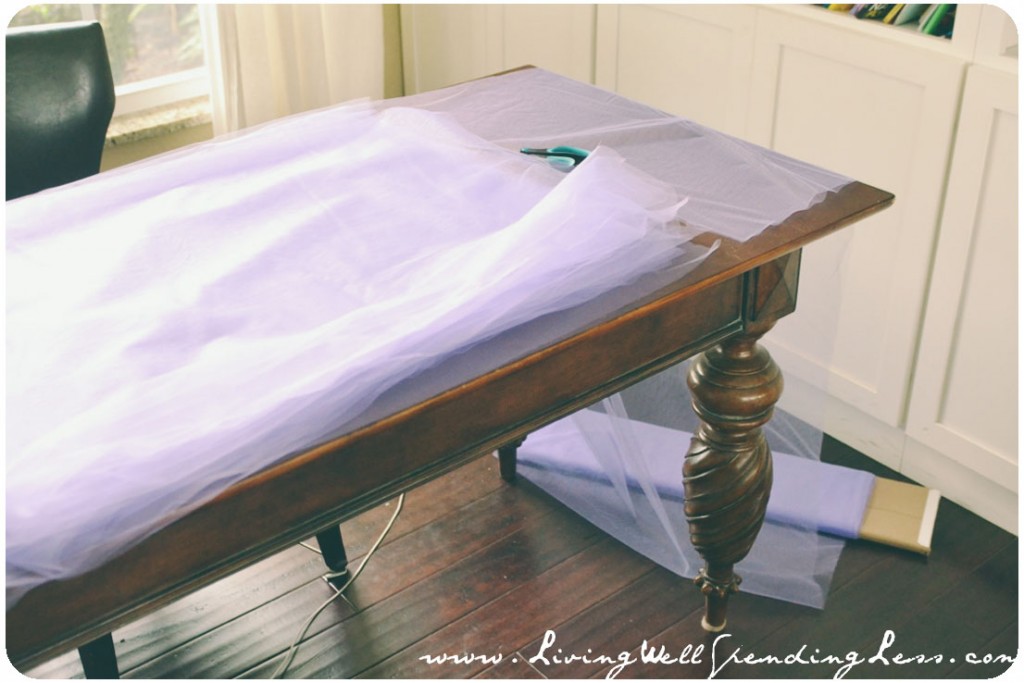
Step 2: Cut your first piece based on your measurement, then cut remaining pieces until tulle is all cut.
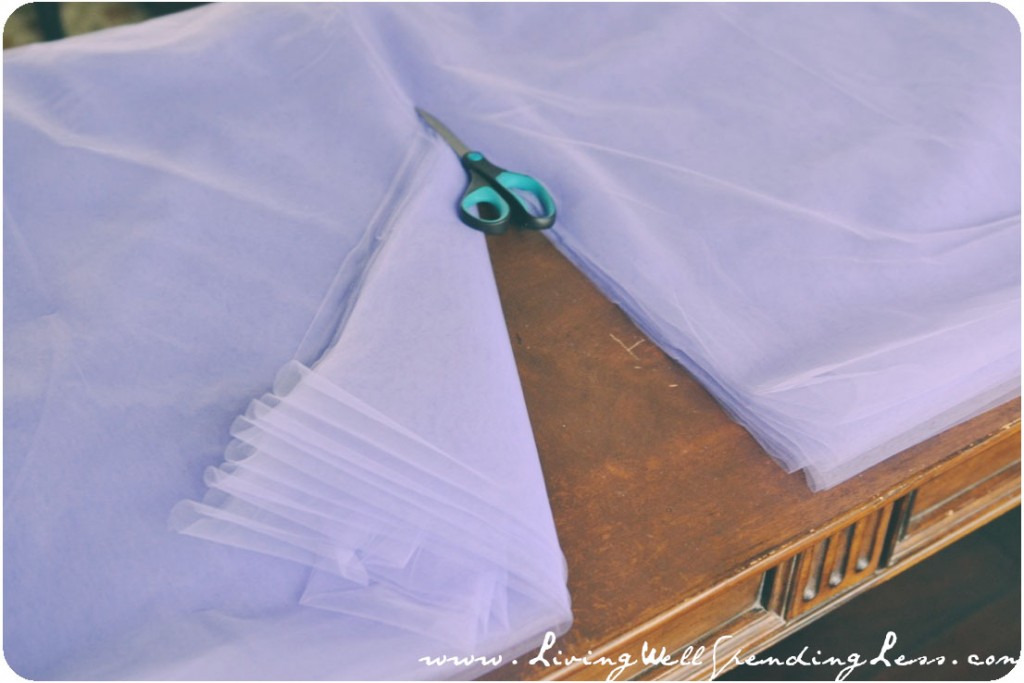
Step 3: Lay pieces flat on top of each other, then cut in half, starting in the middle of the folded edge.
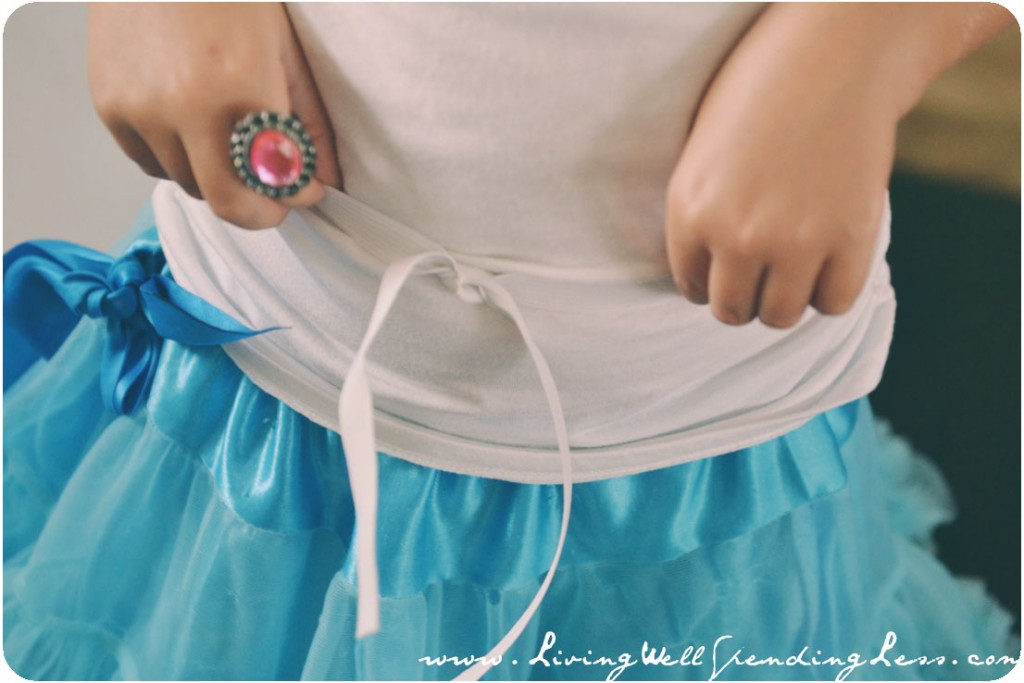
Step 4: Measure a piece of elastic around your model’s waist and tie in place. Don’t knot it too tightly, as you may have to adjust it after the skirt is finished.
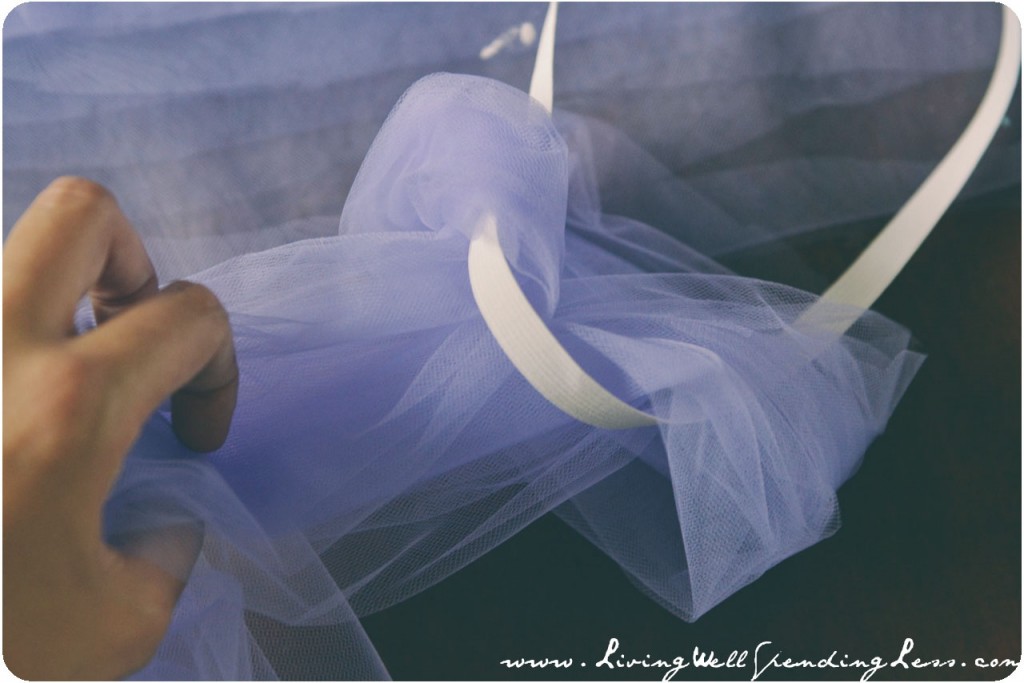
Step 5: Take a piece of tulle and loop it around the elastic, pulling the two ends through the loop as shown.
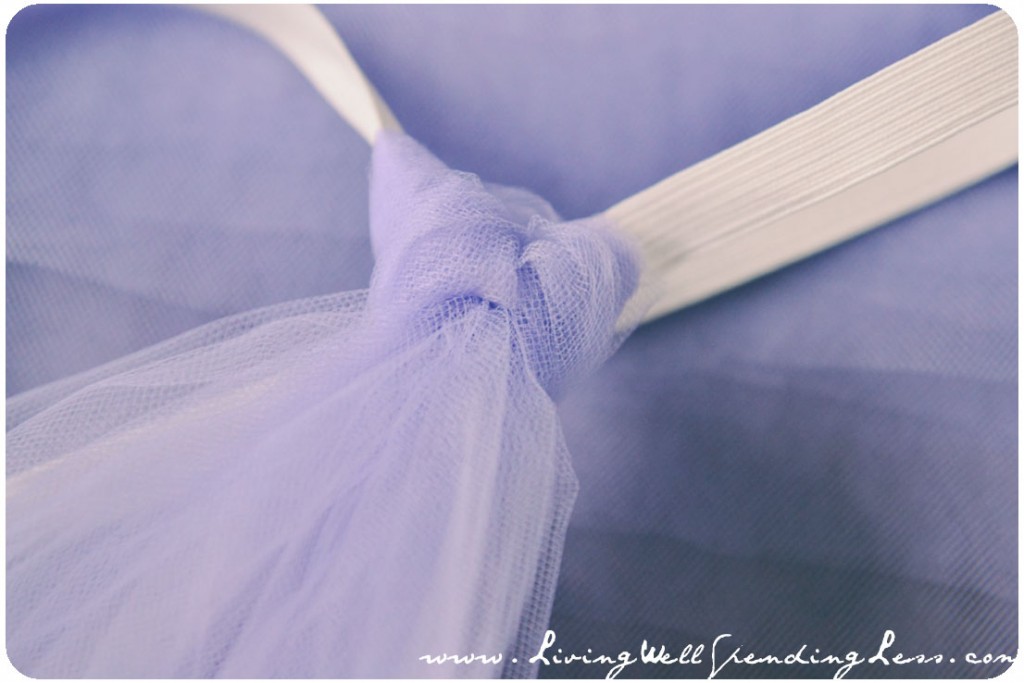
Step 6: Pull to tighten loop, but do not tighten all the way until all the tulle is on the elastic so that you can adjust as necessary.
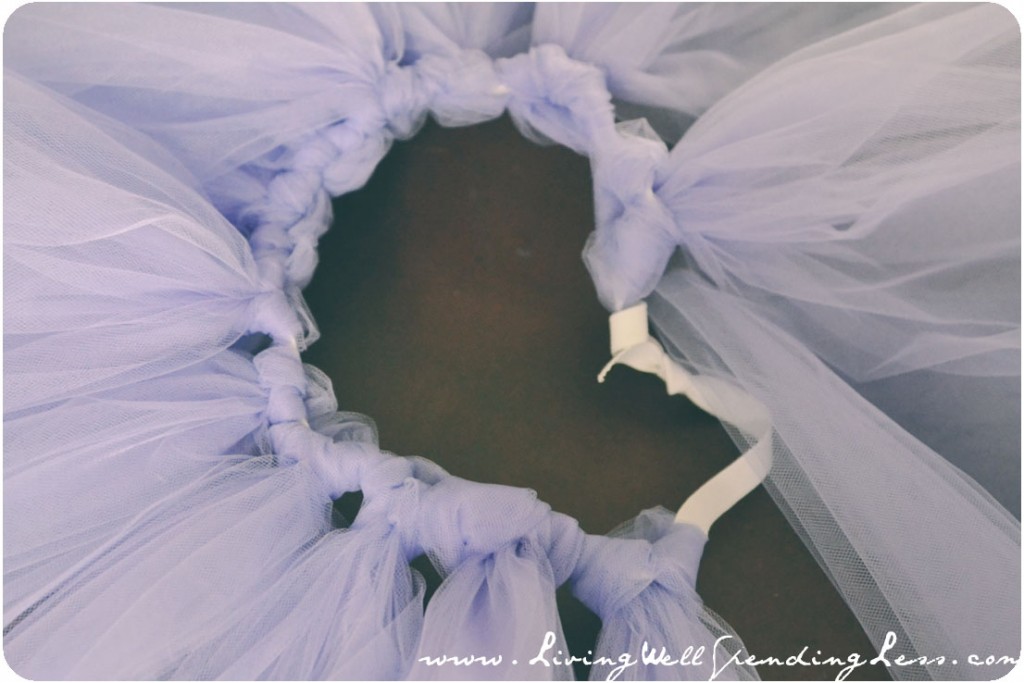
Step 7: Continue looping the tulle pieces onto the elastic until they are gone. Make sure tulle is evenly spaced on elastic.
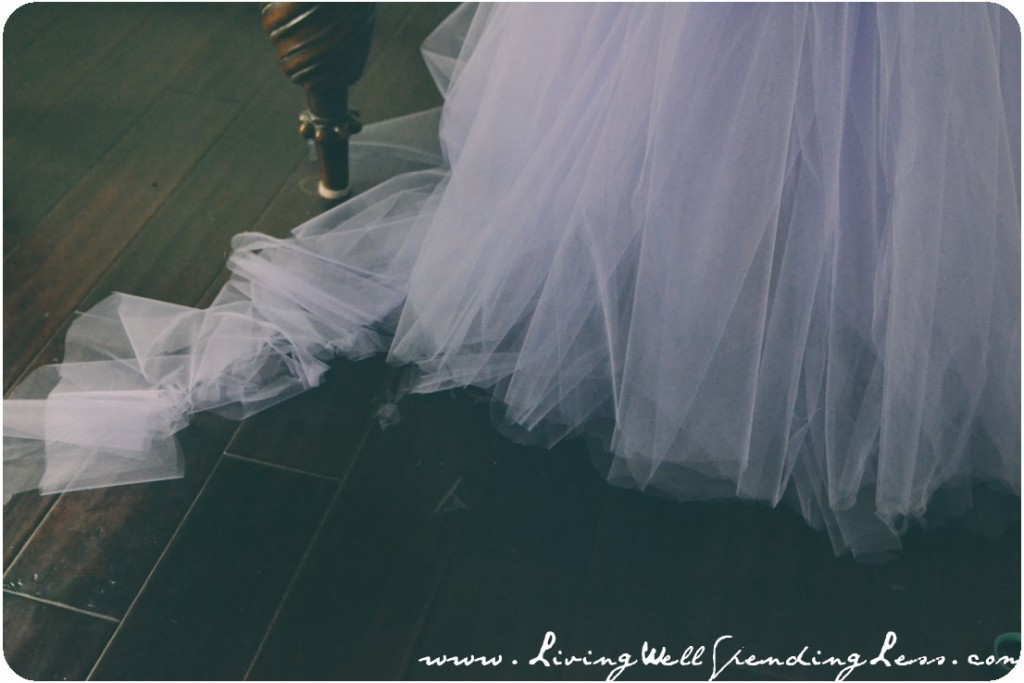
Step 8: Place skirt on model. Trim bottom of skirt to make it floor length. Adjust elastic as necessary. Tighten tulle loops and you’re done! Whether you want to take your own photos or arrange a professional shoot, these skirts photograph beautifully!

Did you make this no sew tulle skirt? Share your experience in the comments!
Other easy DIY Projects you might like:
TAKE BACK CONTROL OF YOUR HOME LIFE
 Ever feel like you just can't keep up? Our Living Well Starter Guide will show you how to start streamlining your life in just 3 simple steps. It's a game changer--get it free for a limited time!
If you love this resource, be sure to check out our digital library of helpful tools and resources for cleaning faster, taking control of your budget, organizing your schedule, and getting food on the table easier than ever before.










Hey hey hello ! Do you think it would be possible and looks good if I did it on an adult size ? It’s for my birthday party and I’ll turn 17 😉
How wide does the tulle have to be?
Was there any tulle left over when you were finished? I want to make sure I get enough. Thanks!
this is an awesome tutorial! I am making a super poofy one for my princess peach costume! going to cut super long wide pieces for the underneath and have them get shorter and thinner as the layers get higher and higher!
Beautiful! I have never seen long DIY tutus like this before!