Did you know you can make your own homemade butter in a KitchenAid mixer or food processor?!! It is fun & easy and tastes SO much better than the store bought stuff!
Okay, so maybe I just tend to get overly excited about butter in general, but I am pretty sure that making homemade butter in my Kitchen-Aid is both the coolest and the most domestic thing I’ve ever done. Just when I didn’t think it was possible to love an appliance even more….I mean really, what’s better than homemade butter? Mmmmmmmm…..butter……
But I digress.
It was seriously so easy that I see a lot more butter making in our future. Since this was technically a homeschool activity (and had no selfish motivations whatsoever!), we tried to follow the instructions from Little House in the Big Woods as closely as we could. Of course considering that we didn’t have a cow or a real butter churn, or even a wooden bowl and paddle, we did a lot of improvising.
We used a quart of heavy cream, which made approximately a pound of butter and about 2 and 1/2 cups of buttermilk. I paid $5.99 for the cream at Publix, which was a lot, but next time I’d probably stock up at Sam’s Club, where it is just under $3 a quart. I’ve heard Aldi has super cheap cream as well. We also grated a carrot to add yellow coloring because that is the way Ma Ingalls did it, but next time I would probably skip that step!
How to Make Homemade Butter
Here is what you need:
1 carrot (optional) 1/4 c. milk (optional) 1 quart heavy cream 3/4 teaspoon salt
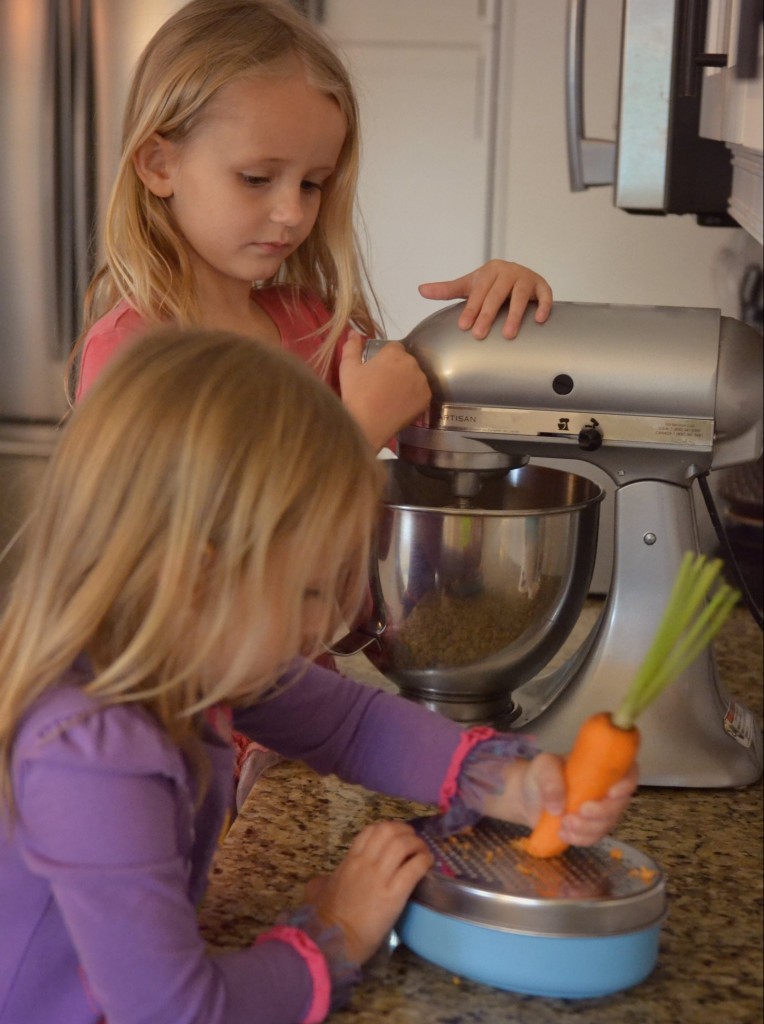
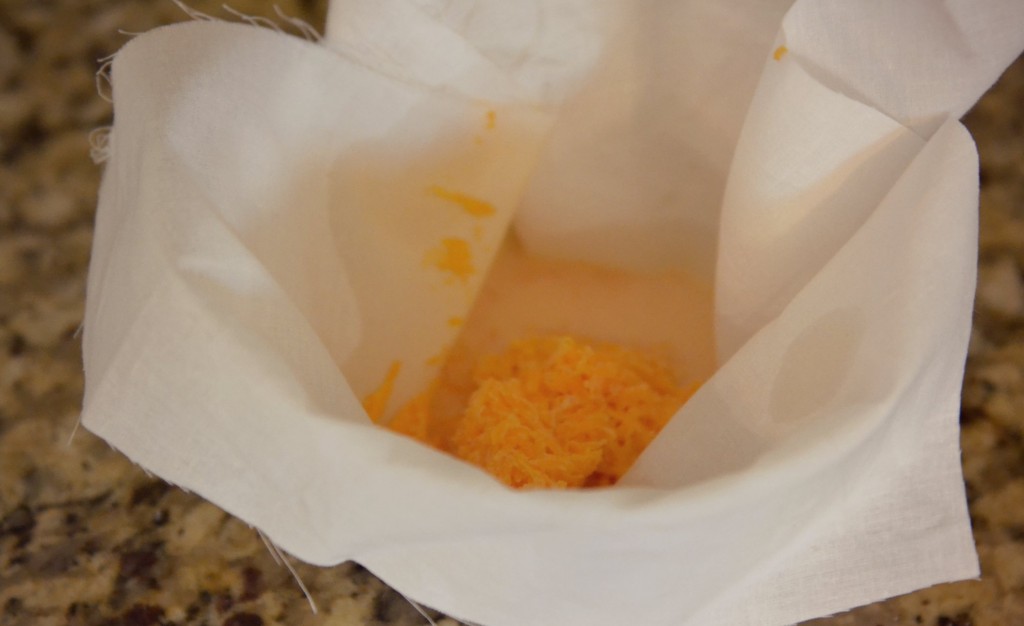
Step 1 (optional): Peel & finely grate a carrot. Heat in small saucepan with 1/4 cup milk until milk is bubbly. Use a clean cheesecloth to strain orange-colored milk into the bowl of your stand mixer. Discard shredded carrot.
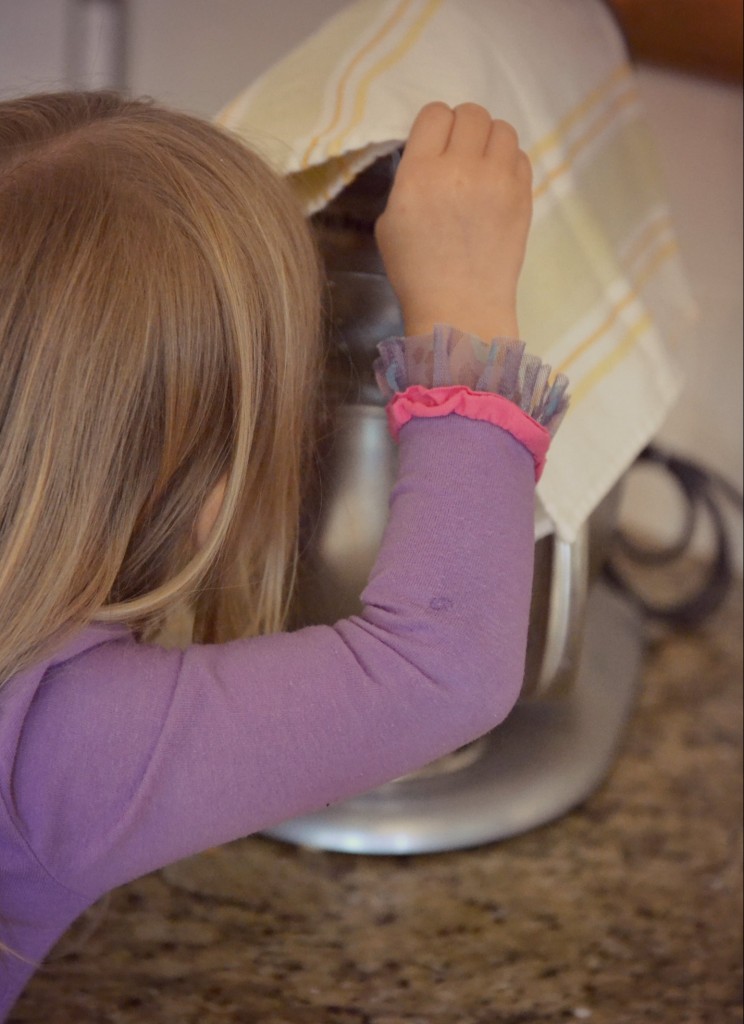
Step 2: Pour cream into bowl of stand mixer fitted with paddle attachment. Add salt. Cover mixer with a towel–trust me on this one, it will be messy! Turn mixer on high.
Step 3: Continue mixing, checking on mixture frequently. It will first turn to whipped cream, then begin to get grainy and separate into butter and buttermilk, and the splashing will get much worse. The butter is ready when it sticks in a clump to the paddle.
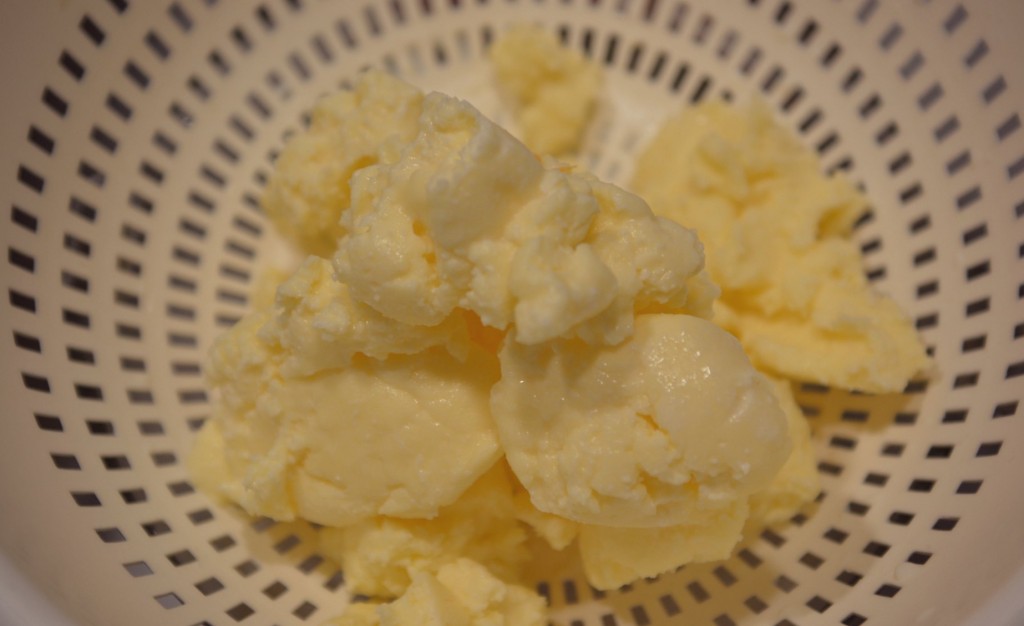
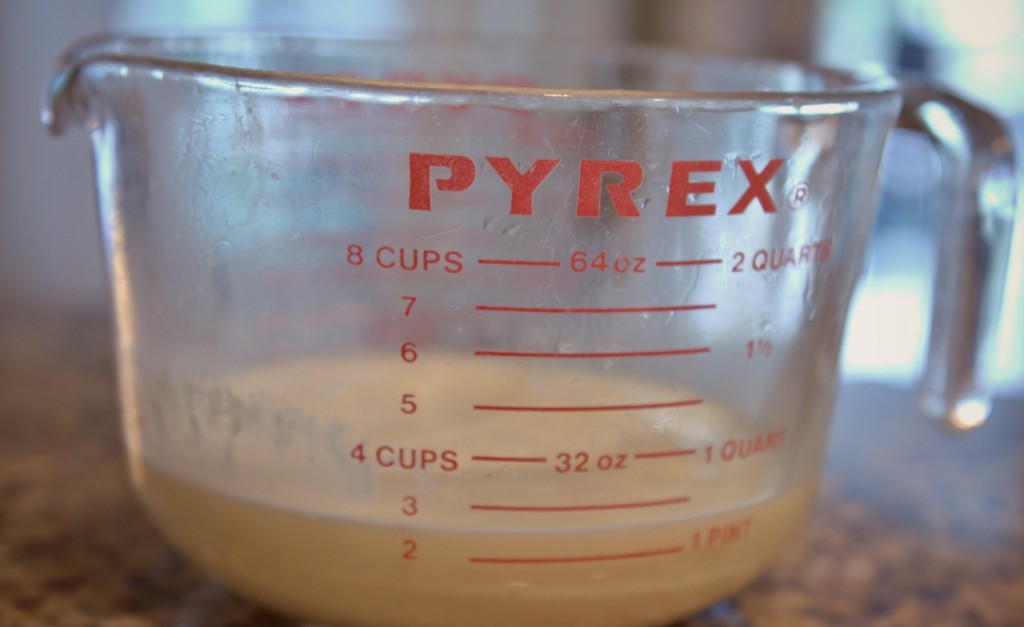
Step 4: Place a colander over a bowl, then strain the buttermilk off of the butter. (For a GREAT recipe using buttermilk, try these super yummy refrigerator raisin bran muffins–they are our FAVORITE!)
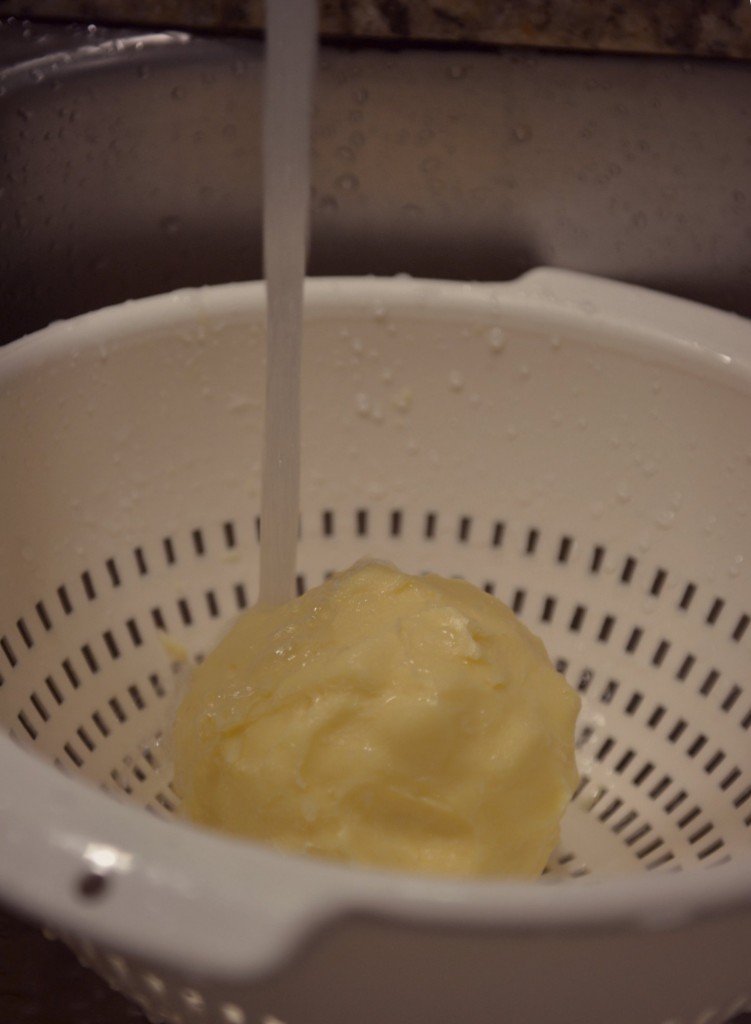
Step 5: Using your hands or a spatula, press out excess buttermilk under cold running water until water runs clear. Shape into stick or ball. Butter will keep covered in refrigerator for up to 4 weeks. Serve with bread and enjoy!
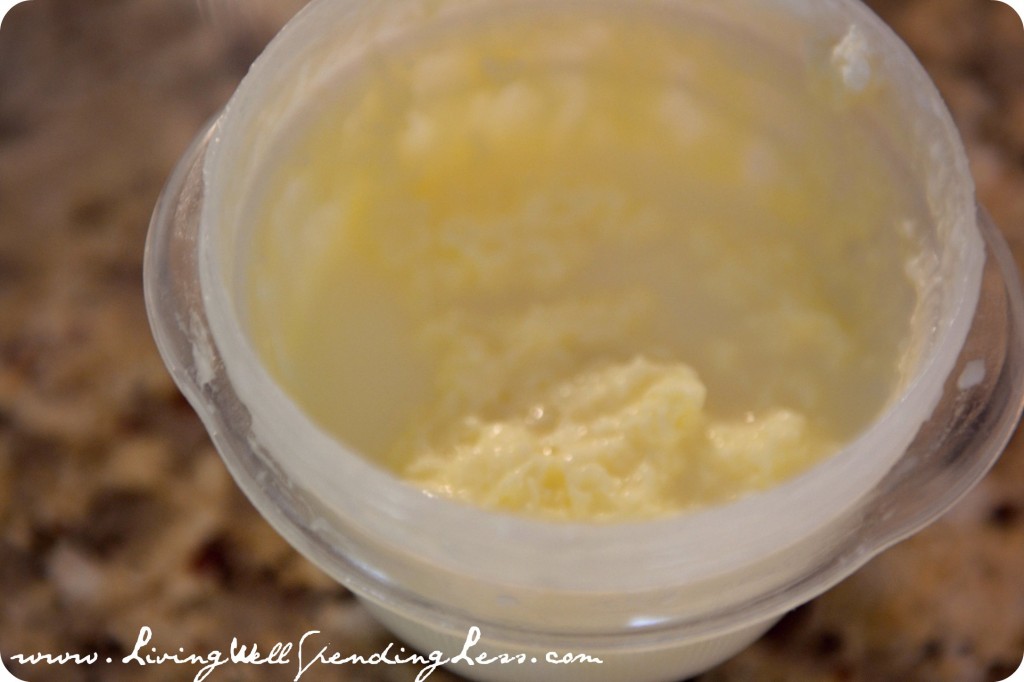
Note: While we were making our main batch of butter in the Kitchen-Aid, we also made a very small amount of butter by placing the cream in a small jar and taking turns shaking it. This was a great way to show the kids how much work it is to make butter by hand! Our shaken butter didn’t turn out quite as firm, probably because we didn’t shake it long or hard enough–my 3 and 6 year old didn’t have a lot of stamina, but older kids would probably do a little better!
HOMEMADE BUTTER
Ingredients
- 1 carrot optional
- 1/4 c. milk optional
- 1 quart heavy cream
- 3/4 teaspoon salt
Instructions
- (OPTIONAL) Peel & finely grate a carrot. Heat in small saucepan with 1/4 cup milk until milk is bubbly. Use a clean cheesecloth to strain orange-colored milk into the bowl of your stand mixer. Discard shredded carrot.
- Pour cream into bowl of stand mixer fitted with paddle attachment. Add salt. Cover mixer with a towel–trust me on this one, it will be messy! Turn mixer on high.
- Continue mixing, checking on mixture frequently. It will first turn to whipped cream, then begin to get grainy and separate into butter and buttermilk, and the splashing will get much worse. The butter is ready when it sticks in a clump to the paddle.
Place a colander over a bowl, then strain the buttermilk off of the butter.
Using your hands or a spatula, press out excess buttermilk under cold running water until water runs clear. Shape into stick or ball. Serve with bread and enjoy!
Recipe Notes
Preparation time: 30 minutes. Number of servings (yield): Approximately 1 pound of butter + 2 1/2 cups of buttermilk. Butter will keep covered in refrigerator for up to 4 weeks.
Other recipes you’ll love:
Pin for Later:
TAKE BACK CONTROL OF YOUR HOME LIFE
 Ever feel like you just can't keep up? Our Living Well Starter Guide will show you how to start streamlining your life in just 3 simple steps. It's a game changer--get it free for a limited time!
If you love this resource, be sure to check out our digital library of helpful tools and resources for cleaning faster, taking control of your budget, organizing your schedule, and getting food on the table easier than ever before.





I don’t have a stand alone mixer, but I do have a big food processor.. wonder if it would work too, what do you think?
Yes, you can use a food processor. I make small batches of herbed butter from my freshly grown herbs. Three to six differently flavored butters on a beautiful serving dish with a thinly sliced and toasted (on a cookie sheet) baguette makes an attractive and simple presentation. James Beard loved non-herbed sweet butter (do not add salt) on radish slices. Yummy contrast of soft and creamy butter on crunchy and tangy radishes. I do not add carrot or salt to my butter…soft white color looks more natural to me. You might want to present the dish with a few buttered radishes so your guests “get it”. Let me knowing you try this and like it! As our Julia says….Bon Appetit!
Oh, man….I am DROOLING over your herb butter!
When you make the herb butter, at what point do you add the herbs?
Where does the buttermilk come into play? I didn’t see it in the recipe anywhere?
The buttermilk is created at the end when the butter separates from the buttermilk. The butter will form a big lump in a pool of milk. Step 5 is to place a colander over a bowl to strain the butter from the buttermilk–the bowl will catch the milk! Hope that makes sense–let me know if it doesn’t! 🙂
Thanks. I was thinking that you needed the buttermilk to make the butter.. got it now.. Thanks!
buttermilk is the product that you end up with after shaking the cream. Butter and the milk it leaves behind (buttermilk)
This is traditional buttermilk. But very different from the buttermilk you buy in the store, cultured buttermilk, and very different from the buttermilk of old. Milk and cream are mechanically seperated now, but they used to let it sit to separate, in which time bacteria fermented it. Using this in place of buttermilk in a modern recipe may produce less than desirable results.
Can this buttermilk be used at all in any recipes?
I use it in place of regular buttermilk in recipes & haven’t had any problems. 🙂
yes butter milk can be use i n pancakes,chocolate cake, waffles, sweetbread sauces etc
I remember that my mother had a gallon sized jar that I sat and shook the milk back and forth in until it made butter. I don’t remember how long it took. The buttermilk that was leftover was used for cooking. I think Mom’s milk was warm when I shook it but not sure. That was many years ago. I loved making butter. I didn’t care for the taste of the buttermilk, but it was great cooked up in bisquits and cornbread. I need to go to the store and buy some heavy cream. I wonder if my health food store would have a healthier one with no additives.
I had to look twice as well to see the same thing.
This is really cool. I really wish I had a kitchenaid mixer to try it. (Maybe someday!) I’m curious about the shaking method that you used. Do you think it would work with a larger amount? How long did you shake it for?
It would definitely work for a larger amount, you just need to be careful about using a glass jar with kids. We shook for maybe 20-25 minutes, but not continuously and not very vigorously. The girls got tired of shaking VERY quickly, but I think if you were doing it right it would turn out just as good as with the Kitchen Aid. Let me know if you try it!
I make butter every year with my 8th grade students. We study the 13Colonies and we use the shake method. I simply use heavy whipping cream in a recycled peanut butter jar. The kids take turns shaking and watching the transformation. We spread it on saltines, and enjoy. The kids love it.
I saw the jar trick done but they put a marble in the jar and it didn’t take very long
You do not need a kitchenaid. Any mixer would do including a hand mixer.
shhhhh! I am trying to get my husband to get me a kitchenaid so I can make all these delicious recioes! SHHH! You most certainly do need a Kitchenaid!
I just broke down and bought one. Kitchenaid sells them refurbished for around $200. It comes with a six month warranty. I bought mine with a PayPal coupon for $185 and it’s perfect.
For anyone who doesn’t want to spend $300+ up front. I bought my KitchenAid stand mixer from QVC for just $50 a month. 🙂
just did it for the ist time..sao simple and only took like 5 to 10 min switching arms ..i added bout3\4 tsp salt..wifeand kids all prefer it..we did a tast test
Shaking works just as well just a lot more work.
I use my food processor with the metal blade. I get much more buttermilk,and have less smoohing to do. Good quality cream yields better butter but even so-so cream makes much better butter than the stuff you buy at the store. Do not waste the buttermilk! It acts like natural preservative for baked goods from bread to cookies. It does NOT taste like store bought buttermilk. It is sweet and delicious!
Thank you for that tip! I have a small apt kitchen. There’s no room for a kitchen aid mixer. Lol. But I do have a food processor!
Can you freeze that buttermilk?
Yes, you can freeze buttermilk. 🙂
could you freeze the butter?
I would not suggest freezing this homemade butter.
When we lived on the dairy farm I did my butter every morning in a food processor.
I made this with my hand mixer. Took a while but worked great and the family raved at Thanksgiving.
Thanks! Will try❤
You can use a blender or food processor with a paddle. Also try using a tiny bit of turmeric for color instead of the carrots.
I I have I have also used my food processor. Works great!
My mom use to use blender to make butter. We had a cow and got fresh cream
I am adding heavy cream to my shopping list right now!
This is SO COOL! Cant WAIT to try it! Thanks Ruth!!!!!!!!!
commenting on the high speed mix. Don’t think you need the speed. My grandmother would put cream in a jar and leasurly tilt it back and forth for 10 to 15 min. Also works better at room temp.
Made butter today starting with cream in a jar tilting end to end . Was old cream in the frig 2 or 3 weeks. It was taking longer than I remember, so I put in the mixer on slowest speed and was butter in just a few minuits.
Thank you so much! Can’t wait to make it!